Installation of SQL SERVER 2014 on Windows Server
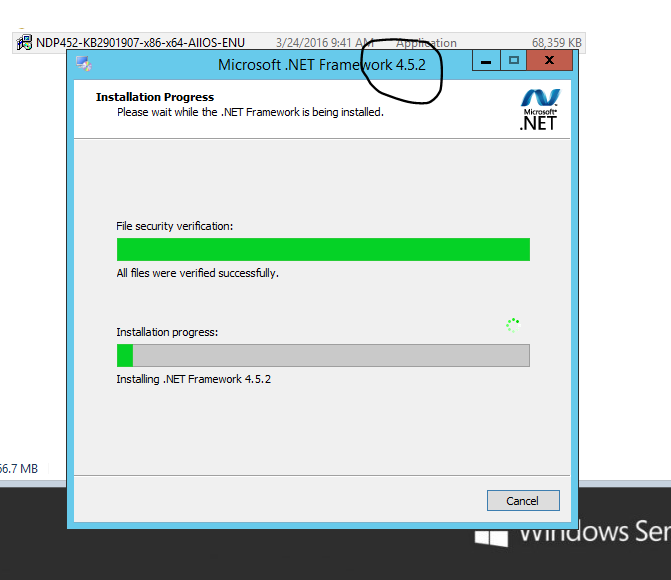
It is a pre-req for SQL SERVER installation to have have Microsoft .NET Framework 4.5 or higher version installed.
Invoke sql-server Setup. Make sure you run installer as administrator.

Select the option that you would like to perform. In this case we are installing a new setup.


Then you will prompted for installtion. what type of installation are you trying to perform. Select New SQL SERVER stand alone installation as below screen.

You will be prompted for key. Select Evaluation if you don't have a Key. In my case I have Key so I am entering the key.

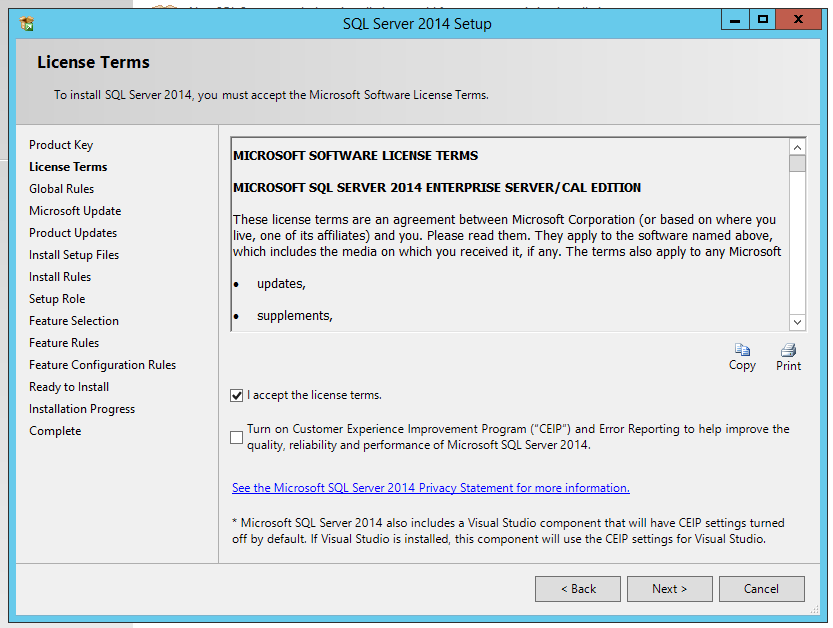
Accept Incensing Terms. If you have a customer support check second box too..
Check the box if you would like to Microsoft to check for Updates.

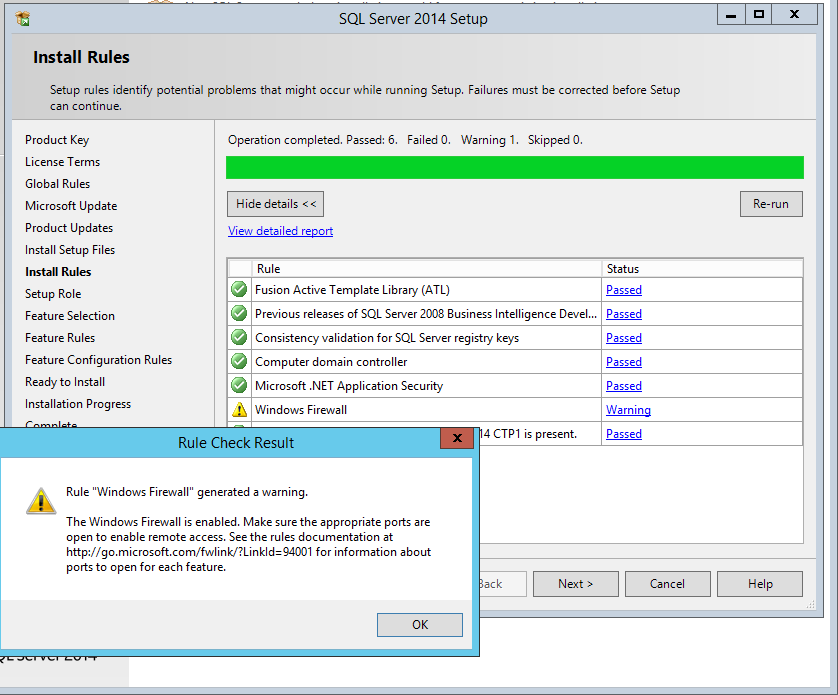
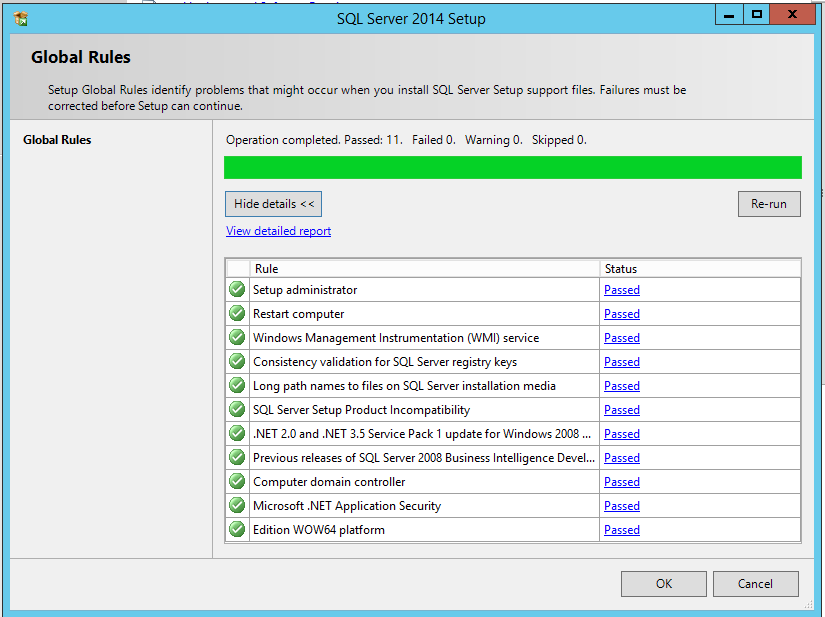
Make sure you do not receive any warning. If you have any warnings, you should clear them before you progress to next step.
Select the options In my case I am going to install defaults.

In this step you can select the locations of where you want to install the software and also what features you want to include or discard.

Name the Instance or leave it as default (I suggest to add your own name)

Setup service accounts and passwords. You also have an option to select if these services can start automatically or manually upon srever reboot.

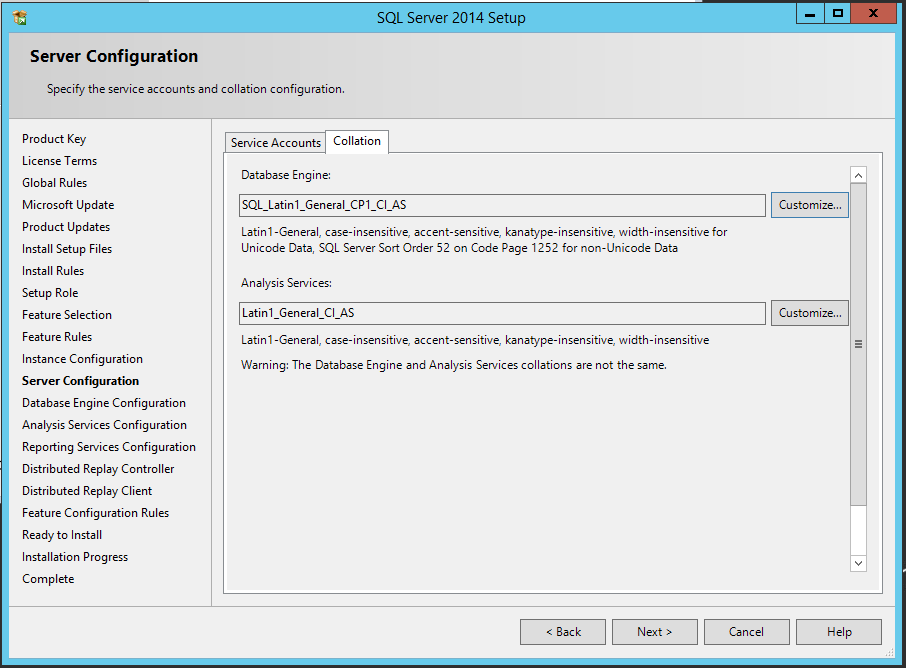
Select Collation (character set in oracle). leave it default if you are unsure.
Select mode of authentication for you database. use mix mode if you want to connect to DB using password & windows authentication.

select data directories locations


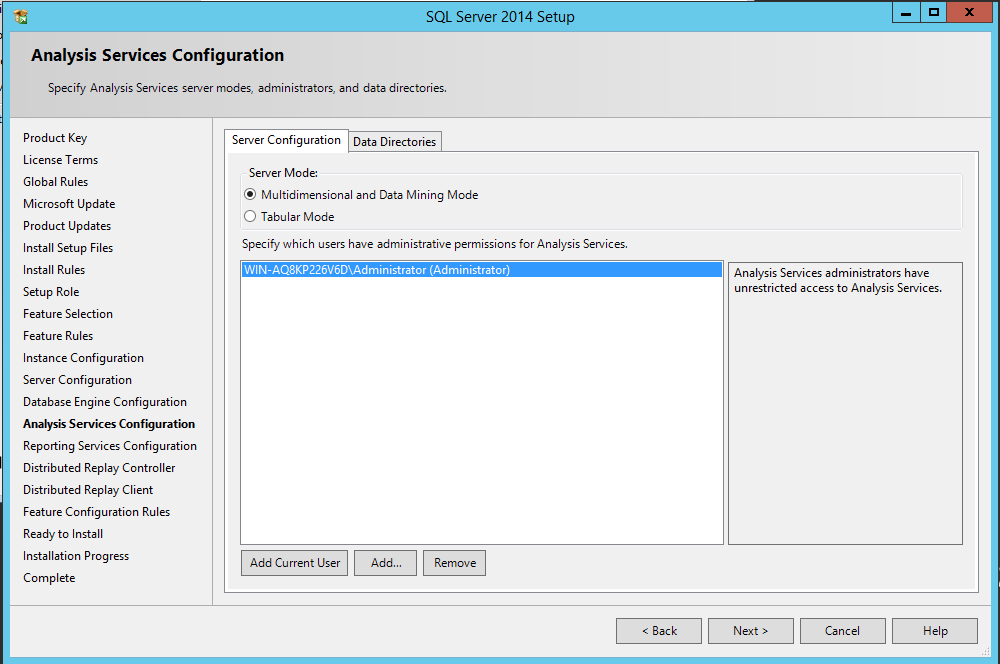
You can add additional user accounts to connect to DB here.

Install and configure


Check summary :


No comments:
Post a Comment